Table of Contents
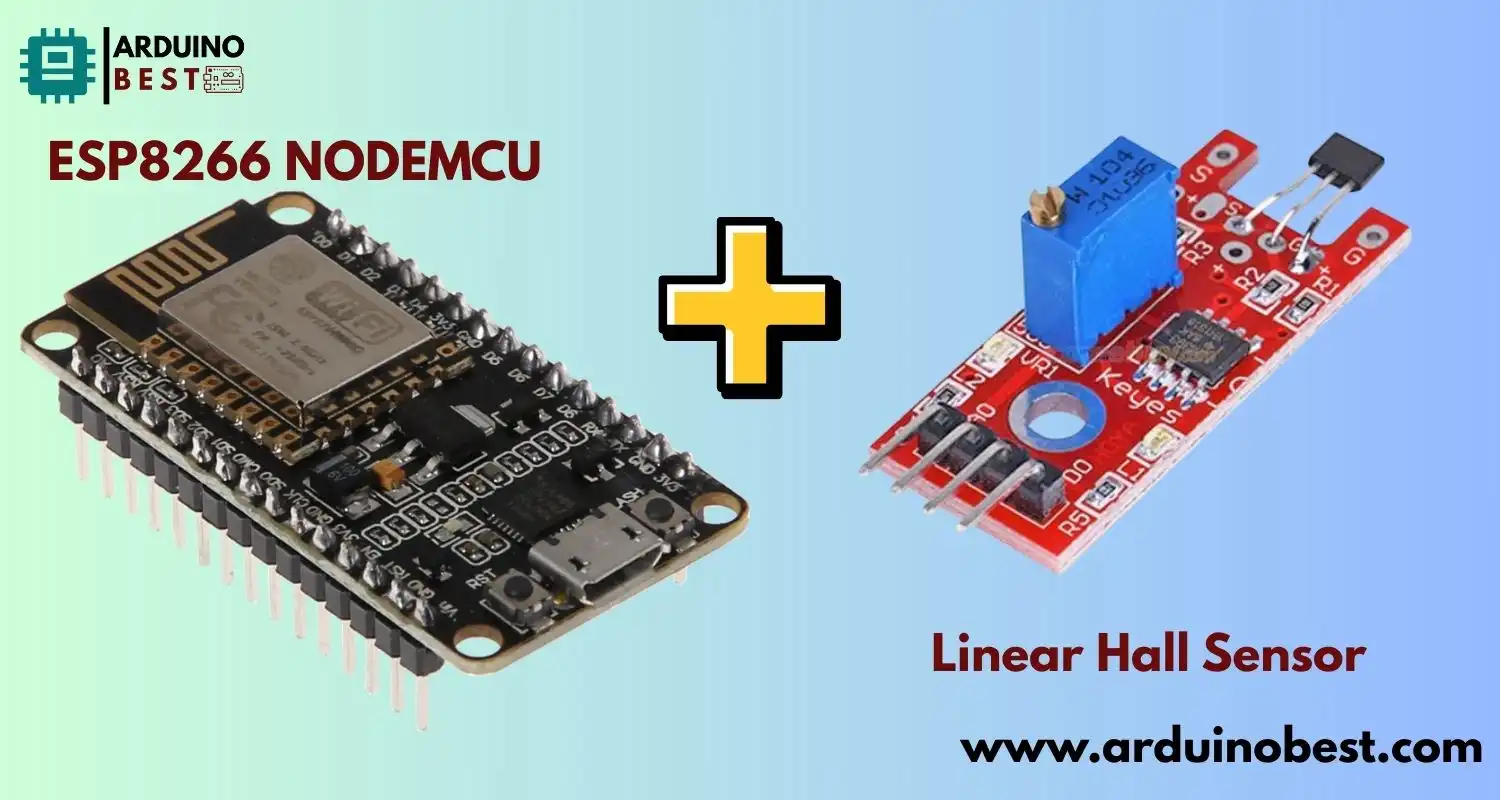
ESP8266 NodeMCU with Linear Hall Sensor is one of the most popular microcontroller boards used in DIY and professional IoT projects. When paired with a Linear Hall Sensor, it opens a wide range of applications, from detecting magnetic fields to measuring current or speed. This guide will walk you through everything you need to know about combining the ESP8266 with a Linear Hall Sensor.
Understanding the Components
What is ESP8266 NodeMCU?
The ESP8266 NodeMCU is a low-cost Wi-Fi microcontroller, widely adopted for building connected applications. Some of its features include:
- Built-in Wi-Fi
- GPIO pins for sensor interfacing
- Support for Arduino IDE
If you’re new to ESP8266, check out this introduction to ESP8266 NodeMCU for a solid foundation.
What is a Linear Hall Sensor?
Linear Hall Sensors are analog sensors that output a voltage proportional to the strength of the magnetic field near them. Unlike digital Hall sensors, linear variants allow you to:
- Detect changes in magnetic field strength
- Measure distance or proximity
- Monitor electrical current with proper configuration
Learn more in this Hall Sensor Tutorial that includes both theory and practical examples.
Working Principle of Linear Hall Sensors
A Linear Hall Sensor works based on the Hall Effect, which generates a voltage when a magnetic field is applied perpendicular to the flow of current. Key features include:
- Analog voltage output
- High sensitivity to magnetic fields
- Applications in speed detection, proximity sensing, and current measurement
How to Interface Linear Hall Sensor with ESP8266 NodeMCU
Required Materials
- ESP8266 NodeMCU
- Linear Hall Sensor (e.g., A1302)
- Breadboard and jumper wires
- USB cable for programming
Circuit Diagram and Connections
- Connect the sensor’s VCC to 3.3V on the ESP8266
- GND to GND
- OUT pin to A0 (analog input on ESP8266)
Setting Up the Environment
- Install Arduino IDE
- Add the ESP8266 board via Board Manager
- Select the correct COM port and board type
Programming ESP8266 for Sensor Readings
Sample Code
void setup() {
  Serial.begin(9600);
}

void loop() {
  int hallValue = analogRead(A0);
  float voltage = hallValue * (3.3 / 1023.0);
  Serial.println(voltage);
  delay(500);
}
Testing
- Upload the sketch
- Open Serial Monitor
- Move a magnet near the sensor and observe voltage changes
Practical Applications
- Magnet Detector: Alert when a magnet is nearby
- Current Sensor: Monitor current in a wire using magnetic fields
- Tachometer: Count rotations or measure speed of a wheel
These applications are well-documented in many ESP8266 sensor integration tutorials.
Troubleshooting Tips
- Calibration issues: Ensure the sensor is centered and stable
- Reading fluctuations: Add a capacitor or average readings
- Incorrect wiring: Double-check your connections and pinouts
Frequently Asked Questions
What is the difference between linear and digital Hall sensors?
- Digital sensors output only HIGH/LOW. Linear Hall Sensors output analog values.
Can the ESP8266 handle multiple Hall sensors?
- Yes, using external ADCs or available GPIO pins.
Do temperature changes affect Hall sensor readings?
- Yes, calibrate for environmental changes.
How far can a magnetic field be detected?
- Depends on magnet strength and sensor sensitivity, usually a few centimeters.
Is the ESP8266 powerful enough for real-time sensing?
- Yes, for many low-latency applications.
Conclusion
Integrating a Linear Hall Sensor with the ESP8266 NodeMCU offers a powerful and accessible solution for real-time magnetic field detection and analog sensing in a variety of applications. Whether you’re a beginner exploring your first IoT project or an experienced developer working on smart automation, this combination provides high functionality at a low cost.
From simple magnetic proximity detectors to more advanced current sensors and speed measurement systems, the versatility of the Hall Effect sensor makes it ideal for innovative DIY electronics. The ESP8266, with its built-in Wi-Fi and compatibility with the Arduino IDE, simplifies sensor integration and enables wireless data communication—perfect for smart home systems, environmental monitoring, and more.
Thanks to the sensor’s analog output and the NodeMCU’s ability to read real-time values, you can quickly prototype ideas, calibrate accurately, and troubleshoot efficiently. As long as you follow basic setup practices, you’ll find this combination reliable and rewarding to work with.
So whether you’re building a custom tachometer or automating a magnetic switch, combining the ESP8266 NodeMCU with a Linear Hall Sensor is an excellent starting point. Get hands-on, experiment with magnetic sensing, and bring your projects to life!
Projects ESP8266 nodemcu :
1- ESP8266 NodeMCU: A Comprehensive Guide to IoT Development
2- Control LED with ESP8266 NodeMCU: A Beginner’s Guide
3- Integrating a Joystick with ESP8266 NodeMCU: A Comprehensive Guide
4- esp8266 nodemcu with Flame Sensor
5- ESP8266 NodeMCU with Heartbeat Sensor
6- ESP8266 NodeMCU with KY-027 Magic Cup Light

